
Knowing how to train to hike a mountain changes the whole experience. The summit photo looks effortless, but that moment is built weeks earlier, on stairs, hills and living-room floors. On Mount Kilimanjaro, the roof of Africa at 5,895 meters (19,341 feet), good preparation is the difference between enjoying the view and just surviving the climb.
Kilimanjaro needs no ropes or technical skills. However, it does need legs, lungs and patience for six to nine days of walking, plus one very long summit day. Below, this guide shows you how to train to hike a mountain step by step: endurance, vertical gain, strength, core, pack weight, gear and a simple four-week plan. Best of all, you don’t need an expensive gym or special equipment.
In a hurry? The short version:
Walking is the foundation of trail fitness, but flat miles and vertical effort are very different things. Walking three miles along a beach is not the same as climbing three miles up a skyscraper. The vertical part, called elevation gain, also works leg muscles that stay asleep on flat ground.
Think of your training as a savings account for energy. For example, every brisk walk or flight of stairs is a small deposit into your aerobic base. Build the balance gradually and you won’t go bankrupt when the trail turns steep.
First, here’s your starting test. Can you walk for 45 minutes on flat ground without stopping? If yes, you already have what you need to begin. Otherwise, start with shorter walks and build from there. Also, speak with your doctor before you begin any new training if you have a medical condition. For the full picture on getting ready, see our guide to training and preparation for Kilimanjaro.
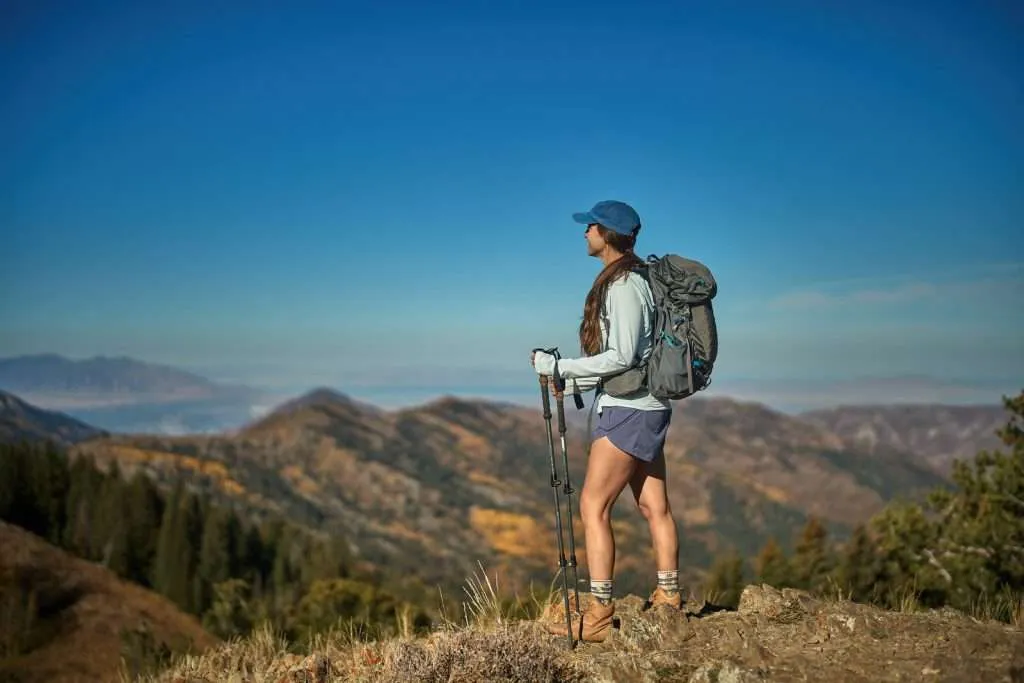
Many people think every workout has to leave them gasping. It doesn’t. Instead, real mountain endurance comes from low-intensity, steady effort, often called Zone 2 training. At this pace your body learns to burn stored fat instead of limited sugar reserves, which gives you a bigger fuel tank for long days on the trail. Sprint all the time and you may get faster, but you won’t build the deep stamina a summit needs.
Fortunately, you don’t need a heart rate monitor. You just need a conversation. This is the Talk Test: your pace should feel purposeful, but you should be able to chat without gasping between words. If you can only manage one-word answers, ease off. A good Zone 2 session looks like this:
As a rule, aim to keep about 80% of your cardio at this easy level, and add time to your walks before you add speed. Most trekking days on Kilimanjaro are several hours of steady walking, and summit day can top 12 hours, so this is exactly the engine you’re building.
Horizontal miles build your engine, but they don’t fully prepare your calves and glutes for gravity’s constant pull. If you live somewhere flat, the gym becomes your mountain. For example, set a treadmill to a 10 to 15% incline and walk slowly. As a result, this copies the posture of a real climb and shifts the work to your hamstrings and glutes. Likewise, a stair climber is the most time-efficient way to condition your legs for ascent.
A guidebook that says “2,000 feet of gain” can feel abstract. This simple conversion makes it real:
On Kilimanjaro, summit night alone climbs roughly 1,200 meters (about 4,000 feet) from Barafu Camp. That’s a lot of stairs, so it pays to practice.
Enthusiasm often leads to overtraining, so use the 10% rule for vertical gain as well as mileage. If you climbed 50 flights this week, aim for 55 next week, not 100. Because tendons adapt more slowly than lungs, gradual progress keeps you injury-free.
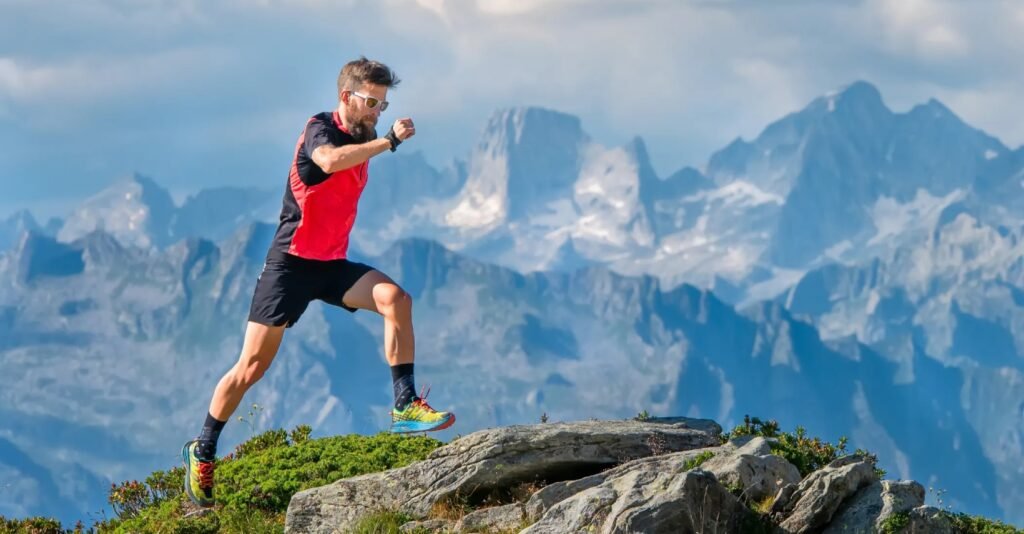
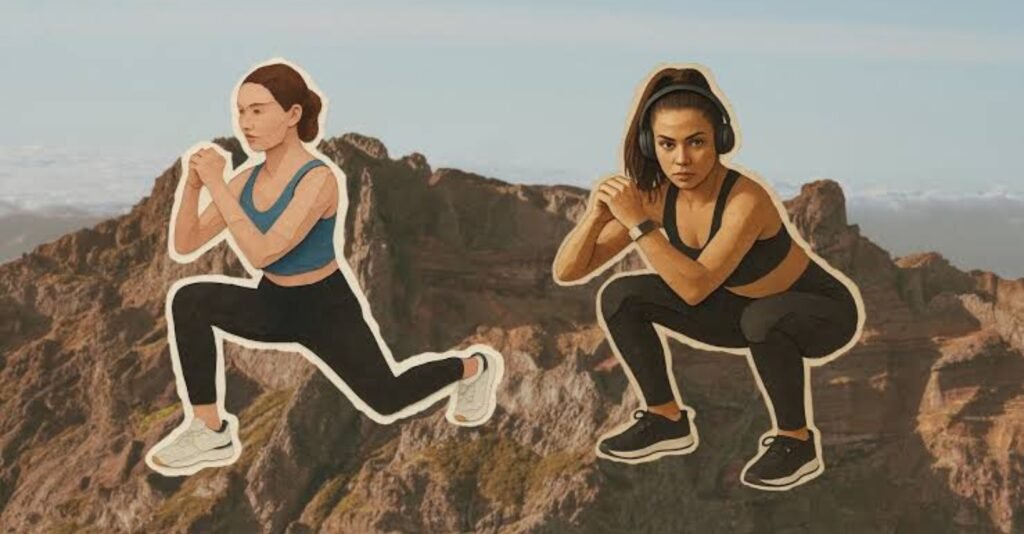
A big aerobic engine won’t help you lift your body weight up a knee-high rock step near the top. In fact, the burning in your thighs often comes from a lack of muscular endurance, not just a lack of air. That’s why the best leg strengthening exercises copy the awkward, uneven movements of the trail, not the smooth motion of a machine.
To start, do these three movements twice a week:
You don’t need a gym membership. Once bodyweight feels easy, load a daypack with bags of rice or full water bottles. Also, add calf raises, since your calves work hard on every uphill step.
Reaching the top feels like victory, but the descent is where injuries tend to strike. On Kilimanjaro, for example, you walk well over 2,000 meters back down after summit night, usually while tired. Climbing demands horsepower. Preventing knee pain demands eccentric strength, the braking force your muscles use to fight gravity. Without it, your joints absorb every step, and that leads to the sharp ache known as hiker’s knee.
To train it, slow down the lowering phase of your squats and step-downs to a count of three. This teaches your quads and glutes to control your weight. Then, on the trail, add the soft-knee technique: land with your knees slightly bent, never locked. It moves the impact from your joints to your muscles, so you stay steady on loose gravel.
Your legs are the engine, and your core is the frame that holds everything together. Two hours into a climb, that ache between your shoulder blades usually isn’t a back problem. It’s a stability problem. A strong core works like an internal belt, stopping the weight of your pack from pulling your spine out of line.
Skip crunches. They don’t match what the trail asks of you. Add these three instead:
With a solid core, a stumble over a rock becomes a quick correction instead of a twisted ankle.
Once your core is stable, test how much weight you can carry. Jumping straight to a heavy bag on day one is a recipe for strain, so patience beats brute force. Your body adapts best when demands rise slowly.
Fortunately, the simplest tool is already in your kitchen. A gallon of water weighs about 8.3 pounds (3.8 kg), which makes it a handy unit for progress. Start with one gallon for a week, then add a half-gallon as you feel stronger. Water has one more advantage: if you overestimate your fitness halfway up a hill, you can pour some out.
On Kilimanjaro, porters carry your main duffel, so your own daypack is usually fairly light, around 11 to 15 pounds (5 to 7 kg). Confirm the exact limit with your operator, then train with that weight on your long walks. When you can carry it comfortably for a few hours, you’ve built the strength you need.
Your legs can handle the load you’ve built, but your knees will appreciate help. Trekking poles spread effort across your upper body and take pressure off your joints, especially on long descents. In other words, think of them as shock absorbers for your cartilage.
Likewise, footwear matters just as much. Use this quick checklist:
Most Kilimanjaro trekkers wear sturdy, waterproof hiking boots because of cold, wet ground and loose scree. Whatever you choose, never wear it fresh out of the box on summit day. Use your training weeks to break it in and find blister spots while you’re still close to home. Our complete packing list covers the rest of your kit.
As you climb, air pressure drops and each breath carries less oxygen. Your heart beats faster just to keep you walking at a normal pace. Instead of chasing exact heart-rate numbers, use relative effort: if you can’t speak in short sentences, slow down.
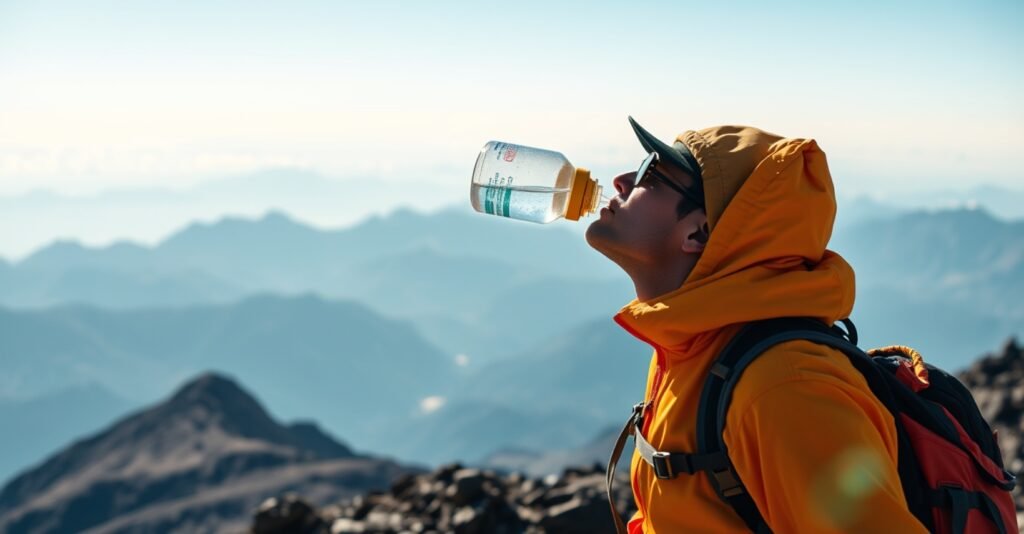
Also, mountain air is dry, and you lose water through every breath, often before you feel thirsty. Follow the sip, don’t gulp rule. Small, regular sips from a bottle or hydration bladder keep you hydrated without sloshing around your stomach.
Still, one honest point: fitness helps you walk, but it does not protect you from altitude sickness. The best protection is a slower itinerary. Read our guides on how many days to climb Kilimanjaro and the best route to climb Kilimanjaro, and see how we manage risk on our safety page.
Ideally you start 8 to 12 weeks before your climb. If you’re already active, this 4-week training plan works as your final month. Increase pack weight or distance a little each Saturday, and taper in the last week by cutting intensity so your muscles recover. You’ll arrive at the trailhead fresh, not tired.
| Day | Workout |
|---|---|
| Monday | Active recovery: light stretching or yoga |
| Tuesday | Strength: lunges, step-ups and calf raises |
| Wednesday | Cardio: 30-minute incline walk or stair climber |
| Thursday | Strength: core focus plus squats |
| Friday | Full rest, and drink plenty of water |
| Saturday | Long hike with your loaded daypack |
| Sunday | Easy neighborhood walk |
Success isn’t about speed. Instead, it’s about standing on the summit with enough energy left to enjoy it. Stay consistent, trust your legs, and you’ll turn an intimidating climb into an adventure you’ll talk about for years.
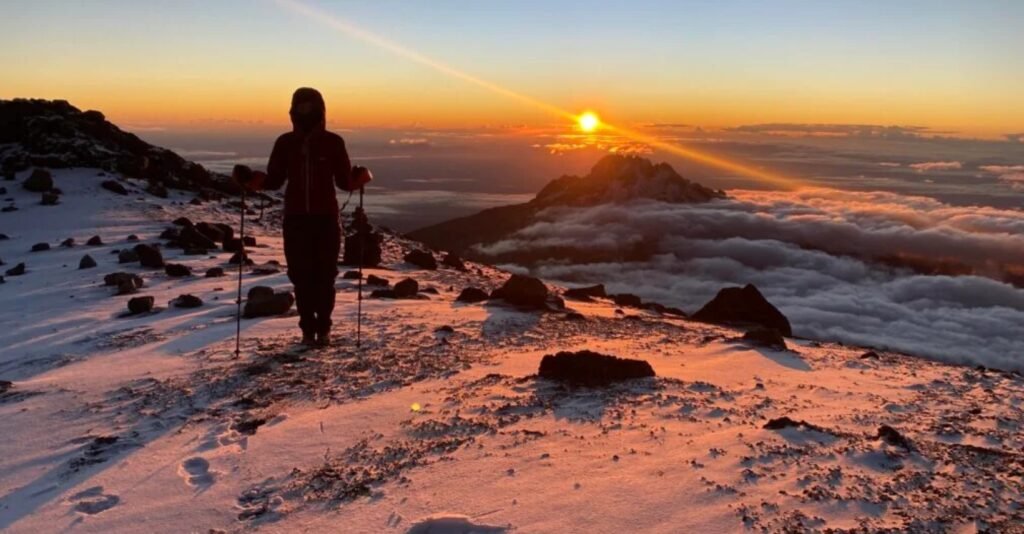
From the first steps in the forest to the last push at dawn, here’s what all that training is for.
Build an easy-pace endurance base with long walks, add uphill work on hills, a treadmill incline or stairs, strengthen your legs and core twice a week, practice downhill control, and carry a loaded daypack on longer walks. Increase effort by about 10% a week.
Ideally 8 to 12 weeks before your climb. If you are already active, a focused four-week plan can still help. Taper in the final week so you arrive rested.
You need good general fitness, not elite fitness. If you can walk for 45 minutes without stopping and build up from there, you have a solid starting point. Pace and patience matter as much as strength.
First, incline walking and stair climbing build the right muscles, while squats, step-ups and lunges add strength. Regular long walks with a daypack bring everything together.
Match it to your expected daypack weight. On Kilimanjaro that is usually around 11 to 15 pounds (5 to 7 kg), since porters carry the main bag. Also, check the limit with your operator and build up gradually.
No. Fitness helps you walk comfortably, but it does not stop altitude sickness. A slow, well-paced itinerary of 7 to 9 days, plenty of water and prompt action on symptoms are your best protection.
This article is for general information and is not medical advice. Speak to your doctor before starting a new training plan or climbing at altitude.
We run small groups with two trekkers to every guide, emergency oxygen on every climb, and itineraries built around acclimatization. Tell us your dates and fitness level and we’ll plan the rest.